Atom8 User Guide

1. Installation process
Atom8 is a solution created on BigCommerce to help business owners automate their everyday tasks.Start your journey with Atom8 through several clicks as below:
1. Go to BigCommerce Marketplace and search for Atom82. Click on Get this App button to open the App Details page
3. Click on Install button
4. Click on Confirm button on the Confirmation page.

And, enjoy your free trial period with our App.

2. Subscription Process
2.1. Start your free trial

You will be offered a free trial period lasting for 2 weeks right after installing our Atom8 App. During the trial period, you will be able to access all of the functionalities available on our App.

2.2. Start subscribing a plan
After the trial period, you can continue to access our Atom8 by subscribing to a plan.Below describes step by step to subscribe for the App:
1. Click on Pricing tab or See Plans button if you are still in the trial period2. Choose the billing cycle which specifies how frequently payments for your plan will be processed: Annually/ Monthly
3. Choose the plan you expect to subscribe to: Pro/ Standard. You can change your plan at any time during your subscription
4. Input your Billing Details and Payment Method (We will not store your card details. Your payment will be processed by Braintree)
5. Agree to our Terms of Service
6. Click on Purchase button.

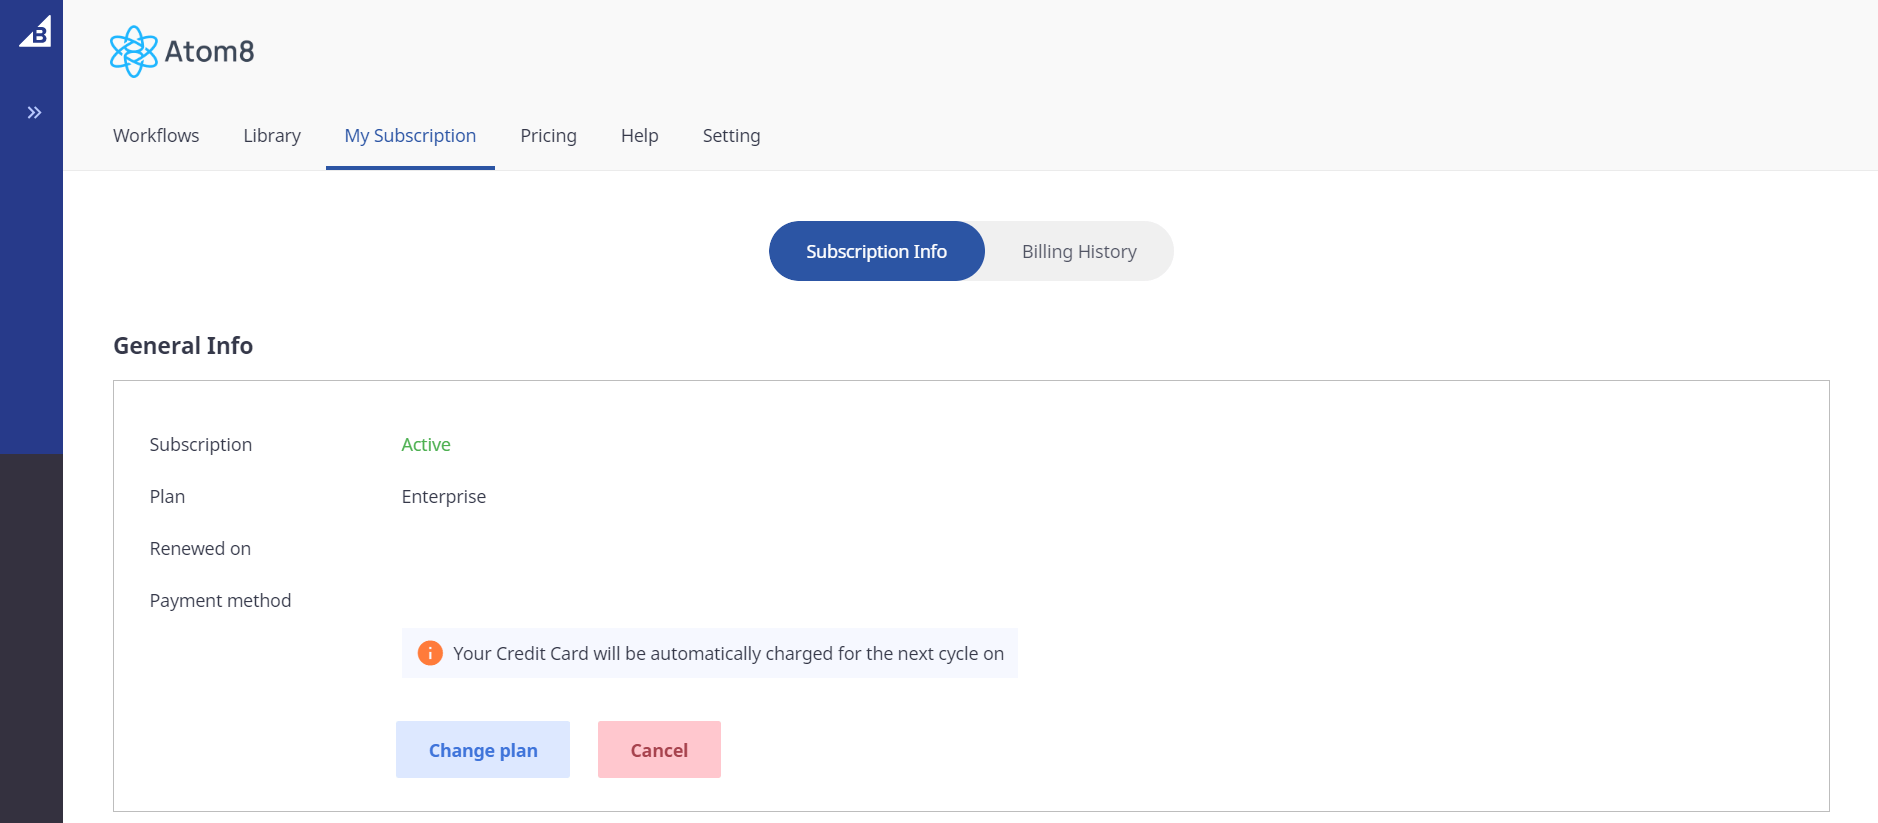
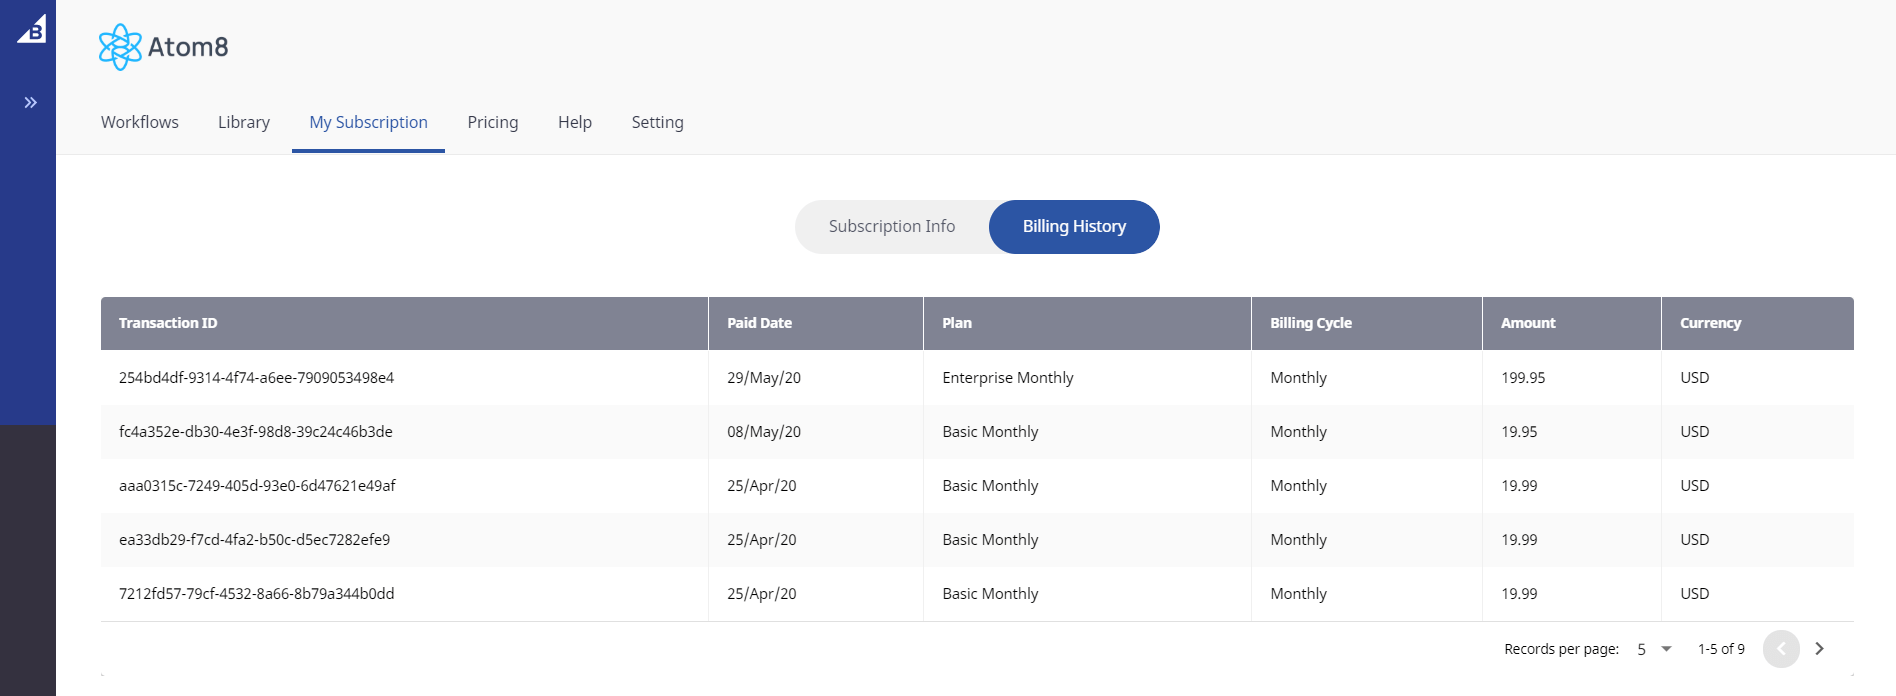
You can view your subscription details including subscription info and billing history in My Subscription page within the App.

How it works 1

Subscription Info
How it works 2Billing History
You can also update your Contact Details and Billing Details anytime. All these changes will affect the next billing cycle.

How it works 3
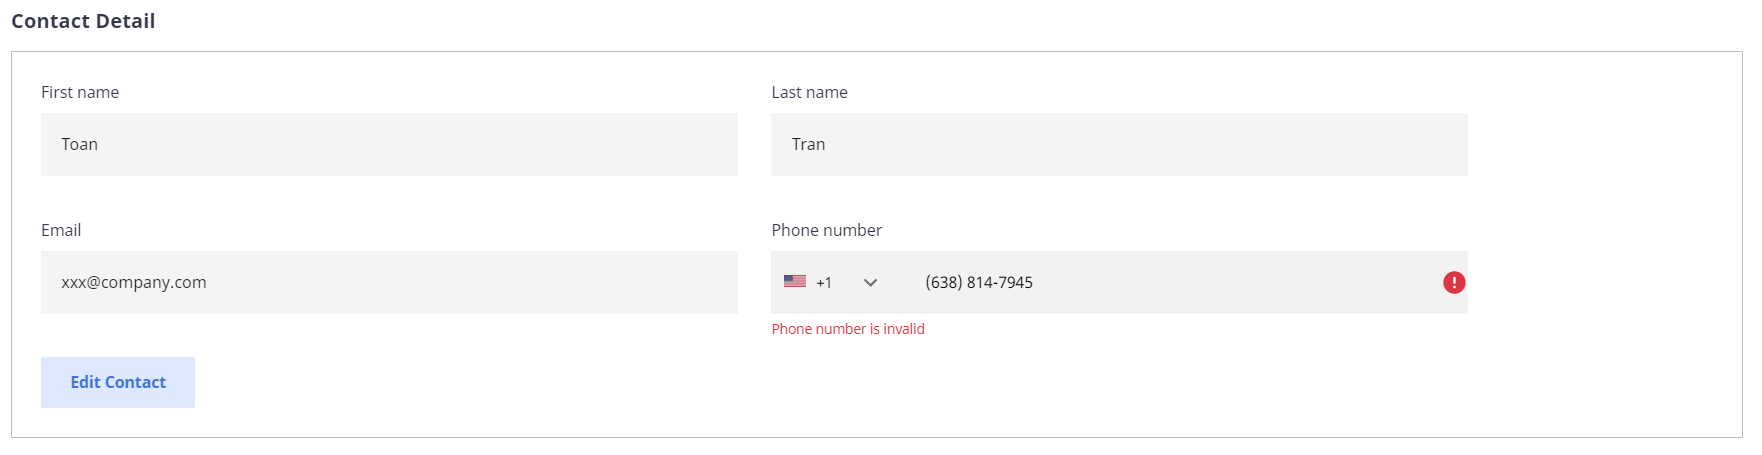
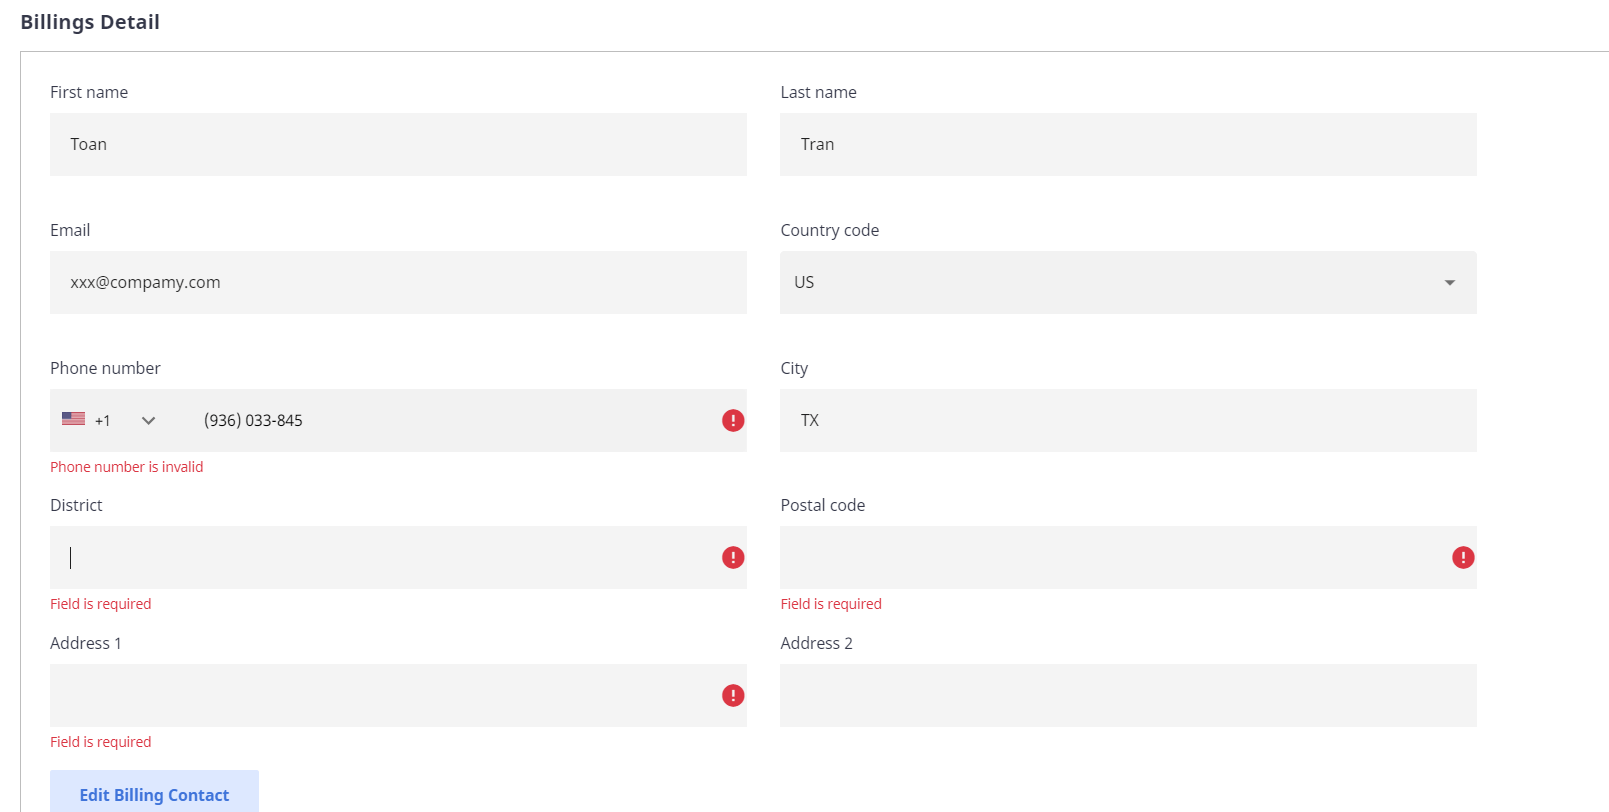
Update Contact Details

How it works 4Update Billing Details
2.3. Cancel your subscription
Canceling subscription means you will not be charged any more, but you can still access our Atom8 until the end of the billing cycle.You can cancel your subscription anytime by simply clicking on “Cancel” button in My Subscription page within the App.
3. Workflow Management
3.1. Create Workflow

You can use Atom8 to automate your day-to-day tasks, such as:

  • Get notification when inventory is low
  • Hide out-of-stock product from the online store and republish it when it is back to stock
  • Send one time discount to new customer
  • Add a customer to a group based on their total spending or lifetime duration
  • Get notification about high-risk order and change the order status to Manual Verification Required for review.

To automate these tasks, you create workflows by choosing workflow triggers, conditions, and actions:

  • Triggers are events that run in your e-Commerce store, such as an order being placed, a customer being added, or a product being created
  • Conditions make sure that your workflow runs actions only when certain conditions are met
  • Actions are tasks that will be performed once all conditions are satisfied.
Noted: To quickly create a workflow, you can duplicate the current workflow by clicking on the Duplicate icon, and edit the duplicated one to fit your expectation. The duplicated workflow can be distinguished with the original one by having “copy” at the end of its name.

Below is an example you can use to automatically get notification about low-stock products:

1. Open Atom8 Application
2. Under the Workflows tab, click on “Add” button to open Create Workflow page
3. Select trigger “Product Inventory changed”
4. Add the following condition: If “Product has low stock” is true
5. Select action “Send email”. Then, input Recipient, Email Subject, and Email Body. You can also add dynamic variables to your email body
6. Click on Save button and specify the Workflow Title to save your workflow.

How it works 5

Creating a Workflow
3.2. Edit Workflow
You can edit workflow by simply clicking on the Edit icon on the Workflows page. You can make changes to the conditions and actions of the workflow to your liking. Once done, please make sure to save the workflow to keep the adjustments.
3.3. Delete Workflow
Deleting a workflow means you won’t be able to recover it in the future. To delete a workflow, click on the Delete icon in each respective workflow on the Workflows page.
3.4. Activate/ Deactivate Workflow
You can temporarily pause the workflow for future use by changing workflow status to Inactive. Once a workflow is deactivated, it is still saved within the app but won’t be functioning. To activate the workflow again, simply change its status back to Active.

How it works 6

Activate/ Deactivate Workflow
4. Feature Requests
At Atom8, we welcome any feedback or suggestions that can make us provide even better service to our users.
You can request new features for the future release by accessing to Help and input your comments into our Feature Request Form as below:

How it works 7


We are here to listen!

Want to submit a feature or let us know what we are missing? Don’t hesitate to let us know.

Talk with us

Let us know how we can make Atom8 work for you and your team!

Please enable JavaScript in your browser to complete this form.
Checkboxes
Checkboxes
I understand that I can withdraw my marketing consent at any time by submitting an opt-out request via email: support@gritglobal.io. By submitting this form, I acknowledge that I have read and understand the GritGlobal's Privacy Policy.

Book a Product Demo

Request a demo for GritGlobal’s BigCommerce solutions.

I understand that I can withdraw my marketing consent at any time by submitting an opt-out request via email: support@gritglobal.io. By submitting this form, I acknowledge that I have read and understand the GritGlobal's Privacy Policy.